The other week I had the luxury of returning to my childhood roots by visiting Hands on Pottery located at 1700 Post Rd. With a majority of the crowd being eight years or younger, I was surprised more college-aged people weren’t there! Not only was I able to express my artistic ability, which is a rare opportunity these days, but it was just the relaxing activity I needed to indulge in during finals time—much like most of us.
Although the last few weeks of the semester are always hectic and dedicated to studying, I think it’s important to remember that you can take an hour or two out of your day for a break. After all, it will only allow for a more productive mindset. We, creative people, call it an “artist date” … look it up!
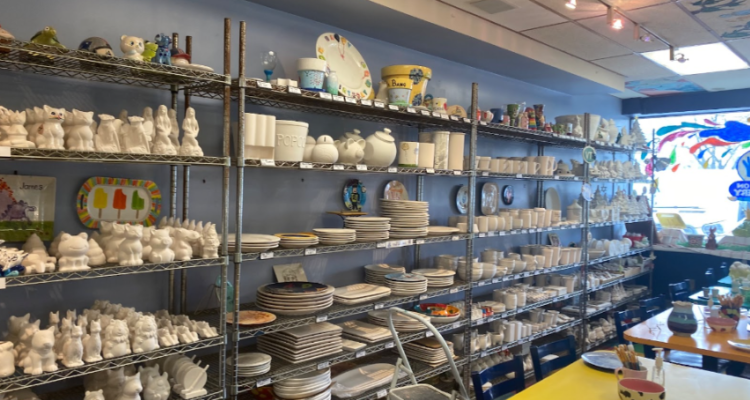
Step One: Pick Your Item
Hands on Pottery has shelves upon shelves of different pre-made pottery items you can choose from including plates, flower vases, cups, mugs, gnomes, other figurines and more. I chose a mason jar which was $19—a steal in my eyes as it will undoubtedly last for years, much like the other choices. However, I was eyeing this chip and dip bowl which I might have to go back for since I make guacamole quite often. The prices varied from as low as $10 to upwards of $40 depending on your desired piece.
Step Two: Choose Your Colors
Once you select your item, think about how you want to transform it! Once you’ve done so, leave it at a table and head over to the counter where you will get a paint tray that holds six colors. Of course, you can grab more than one tray if you have an idea for a super colorful outcome, but I suggest just starting with just a few.
On the wall near the paint, there is a large hand that shows the 50+ colors, in varying shades, and what they look like after it’s glazed. I chose the “funfetti” for my base color which is a cream shade with hints of orange, pink and green speckles—I absolutely love how it turned out! Because I coated the entire jar and wanted to do multiple layers for a clean look, I had to go up and get a refill, but it was no problem.
Step Three: Paint!
After looking up some Pinterest inspiration, I found a jar that looked as if it was a field of flowers. Since I thought my jar would fit a nice bouquet in it, I attempted to paint some lavender around my cup. I think it honestly came out lovely, but of course, I am biased. My friend who was with me painted a plate based on Harry Styles’s song “Keep Driving” which came out beautifully as well. It just goes to show you all of the different routes you can take when creating something unique to you!
Step Four: Leaving it Behind
In addition to the item cost, you also pay a $10 service fee. My price overall was around $30, which I would say it’s definitely worth it and reasonable. Once your painting is out of the way, you’ll write your last name underneath your product and give them your phone number. Finally, they create a ticket upfront at the desk for you which you will leave with.
Step Five: Collect Your Masterpiece
Our original return estimate was that it would take two days but they called and told both my friend and me that it would be closer to one week which I didn’t mind. Seven days later, I showed up in the morning with my ticket and was handed over my beautiful creation. So easy!
I was nervous that my painting would come out faint, but after its glaze, it looks stunning and rich—I can’t wait to purchase a nice bouquet of flowers at Trader Joe’s and fill my jar. In the end, I think it’s safe to say I will definitely be returning soon to paint that chip and dip dish. Maybe I’ll see you there?
Leave a Reply